
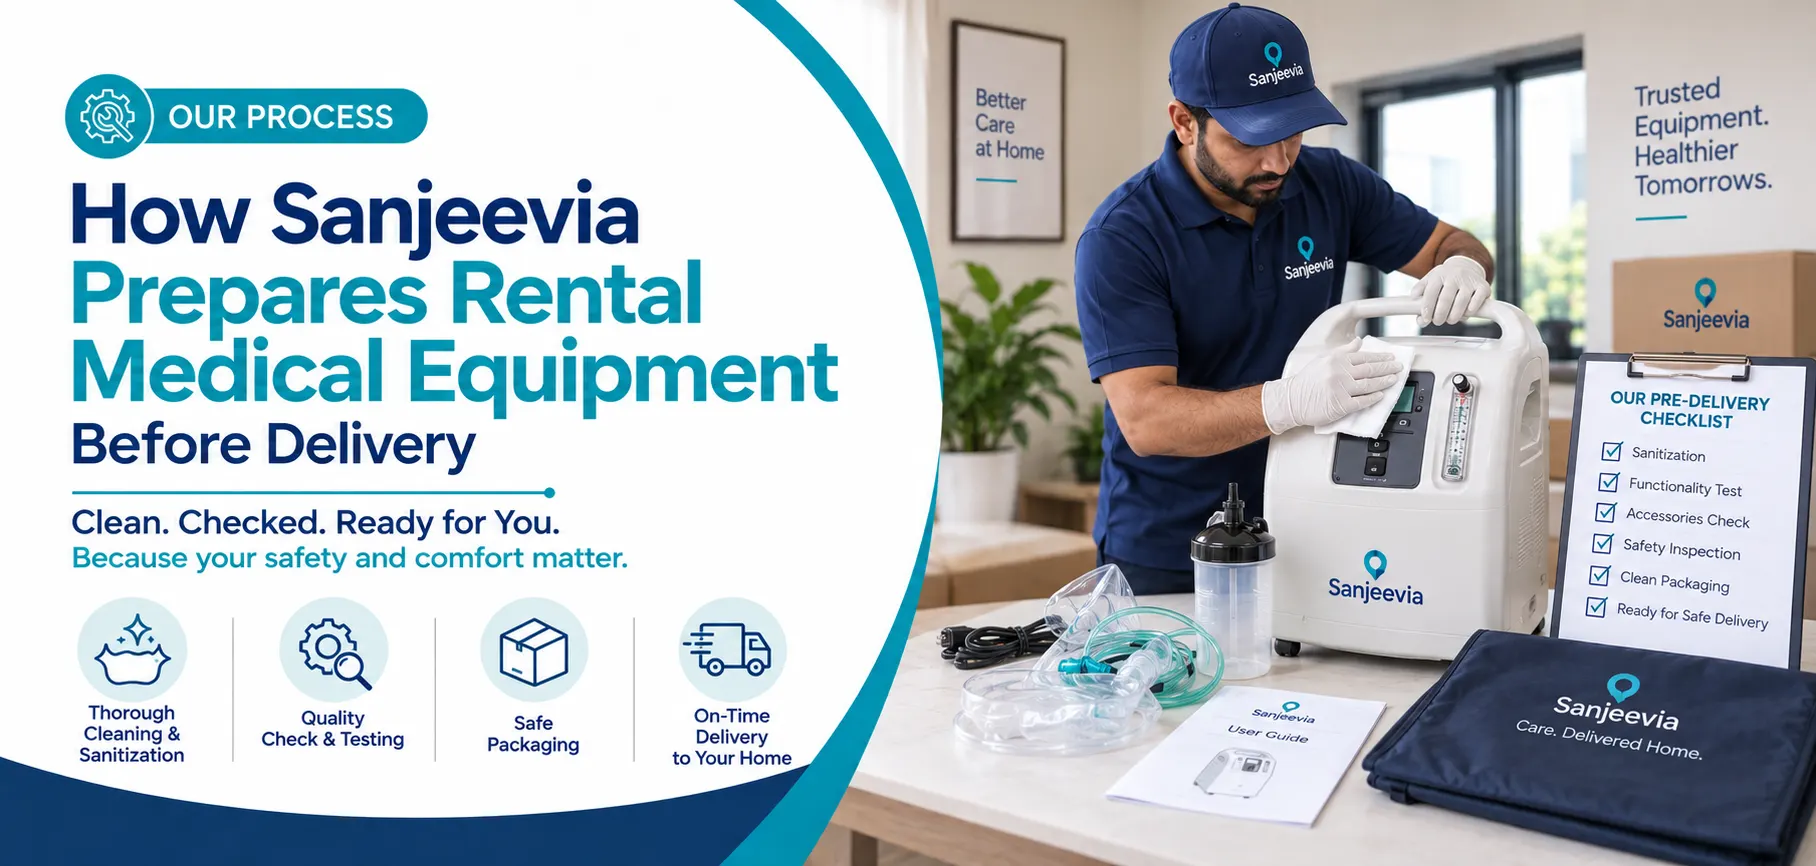
Quick answer: Before a Sanjeevia rental unit leaves for a Delhi NCR home, the order should be matched to the requested model, the assigned unit should be checked for function and condition, reusable surfaces should be sanitised, accessories should be counted, and the family should receive a pre-delivery confirmation. At the home, the equipment is installed where applicable, tested and demonstrated. This guide explains what that process means and what the receiving caregiver should verify.
Families usually see only the last part of a medical-equipment rental: a vehicle arrives and the device enters the home. The more important work begins earlier. A reliable handover depends on the prescription, product match, assigned unit, quality check, delivery route and caregiver all lining up.
Stage 1: Turn the enquiry into an equipment requirement
“We need a bed” or “the doctor said oxygen” is the beginning of an enquiry, not a complete order. The team first needs enough information to identify the right product class.
Useful details include:
- the exact item named in the prescription or discharge note;
- manufacturer or model if specified;
- required bed functions, oxygen flow, respiratory mode or monitoring parameters;
- patient weight, mobility and transfer needs where relevant;
- delivery PIN code and requested date;
- expected rental duration;
- building floor, lift, stairs, doorway and room access;
- the caregiver who will receive the demonstration.
Sanjeevia can help families compare available equipment, but treatment decisions remain with the treating team. Oxygen flow, pressure settings, ventilation mode and alarm limits must come from the appropriate clinician. If the prescription is unclear, clarification should happen before dispatch.
Stage 2: Match the order to a specific product
The product category alone is not enough. The assigned equipment must have the functions the order requires.
For a hospital bed
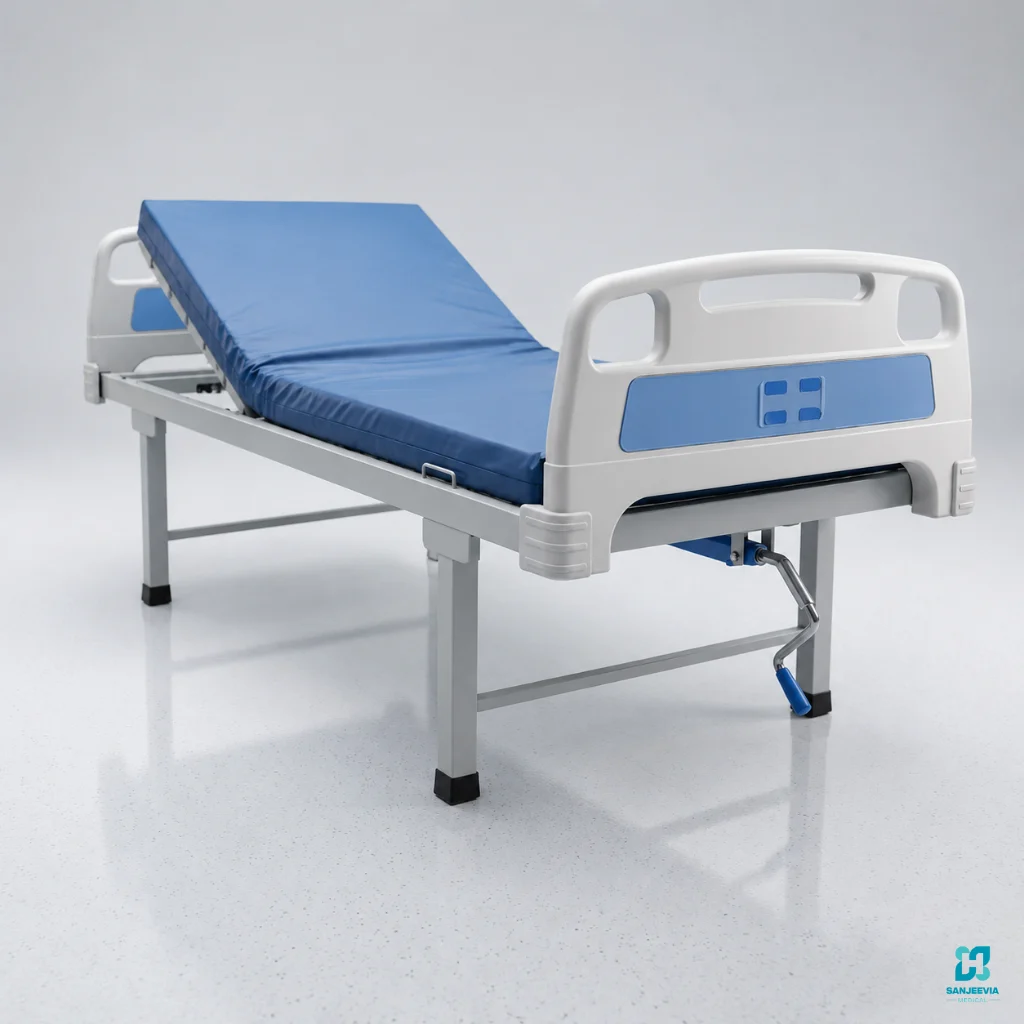
The check begins with manual or electric operation, the number of adjustable functions, overall dimensions, mattress platform and load capacity. The room and delivery route must also suit the transported components. Families can compare verified dimensions and current prices in Sanjeevia’s hospital-bed selection guide.
For oxygen equipment
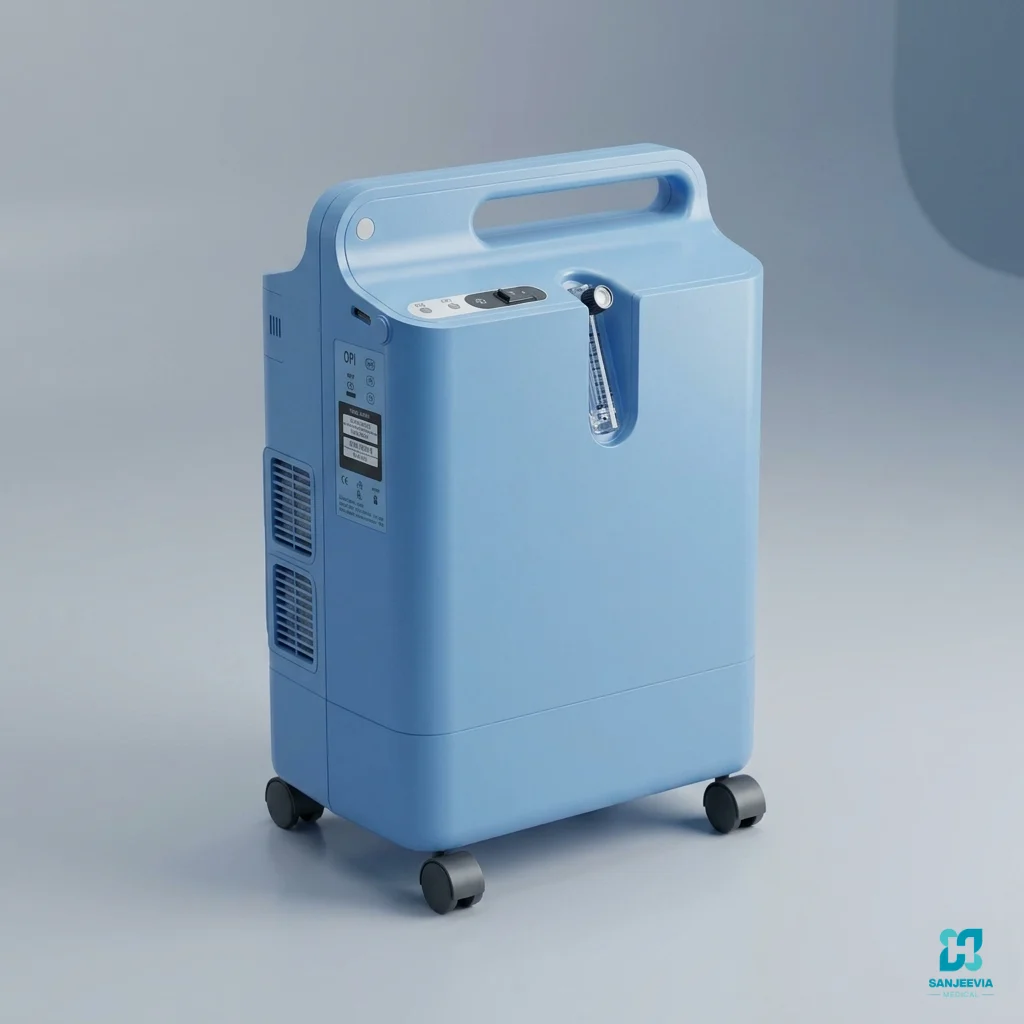
The prescription should identify the required flow and duration. A stationary 5L concentrator, 10L concentrator, portable concentrator and oxygen cylinder solve different logistical problems. The family also needs a plan for electricity failure or device interruption where the patient’s condition requires one. Browse the oxygen-support range.
For BiPAP, CPAP or a home ventilator
The mode matters. A basic BiPAP in S mode is not automatically suitable when ST, AVAPS, iVAPS or ventilator capabilities are prescribed. The circuit, interface, humidification, alarms, oxygen connection and backup power must match the written plan. Browse the respiratory-care range.
For a wheelchair
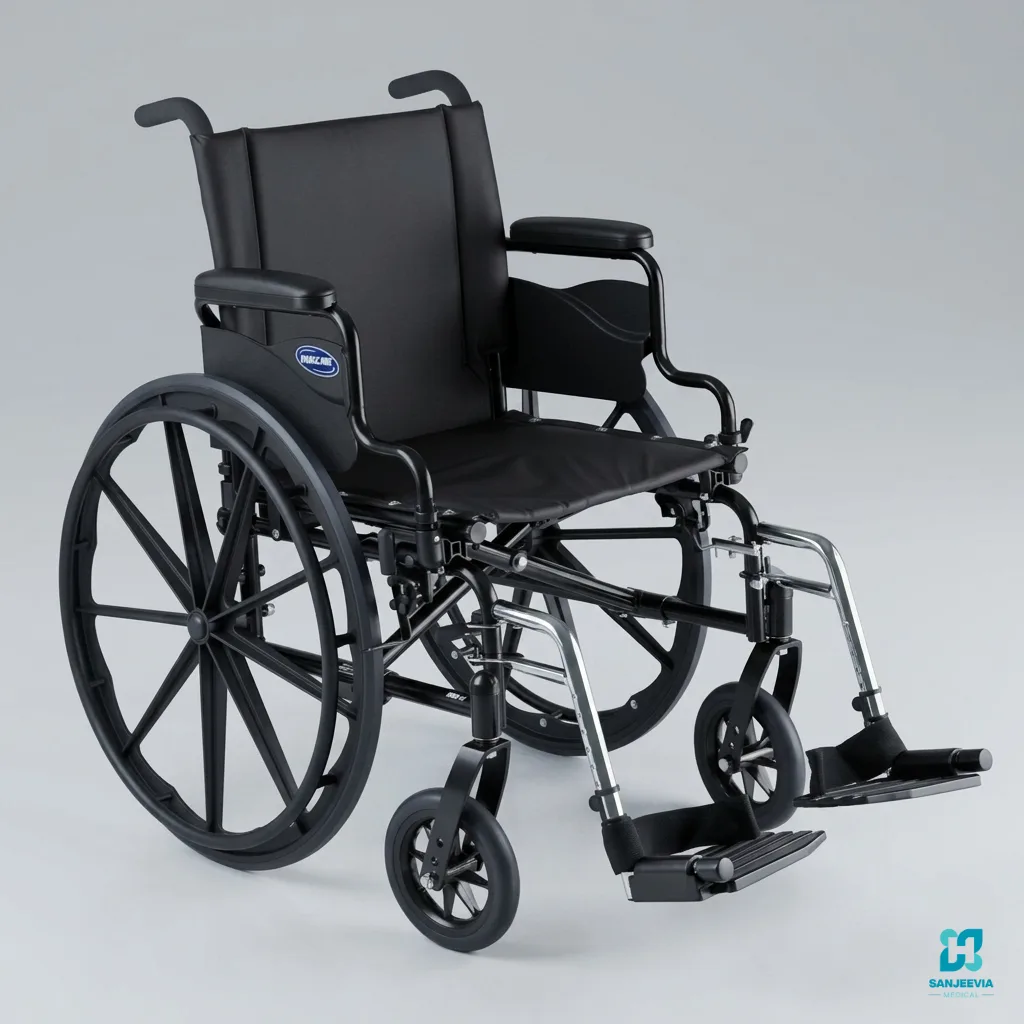
Seat width, user weight, transfer method, brakes, footrests, folding size and toileting needs can change the choice. A standard manual wheelchair, commode wheelchair and heavy-duty wheelchair are not interchangeable merely because all have wheels.
Stage 3: Assign and identify the actual rental unit
Once the product requirement and availability are confirmed, a particular unit can be assigned. This is where product-level information becomes unit-level responsibility.
The assigned unit should be identifiable by its model label and other internal records used by the provider. The team should compare it with the order before loading. Where Sanjeevia’s product process applies, a pre-dispatch message can include the order confirmation and sanitisation-sticker photograph. Families should still verify the delivered model at handover.
Stage 4: Perform the equipment-specific quality check
A quality check cannot be identical for every device. The relevant functions depend on the equipment.
| Equipment | Examples of pre-delivery checks |
|---|---|
| Hospital bed | Frame condition, manual cranks or motors, handset, moving sections, wheel brakes, compatible mattress, rails and supplied accessories |
| Oxygen concentrator | Power-up, flow control, oxygen output, alarms, filters, outlet, casing, cable and supplied connector |
| BiPAP or CPAP | Correct model and mode, power adapter, display, controls, alarm behaviour where applicable, tubing connection and humidifier chamber |
| Home ventilator | Prescribed capability, alarms, circuit connection, internal battery status, power supply and required accessories |
| Wheelchair | Frame, seat, folding mechanism, wheel movement, brakes, footrests, armrests and load suitability |
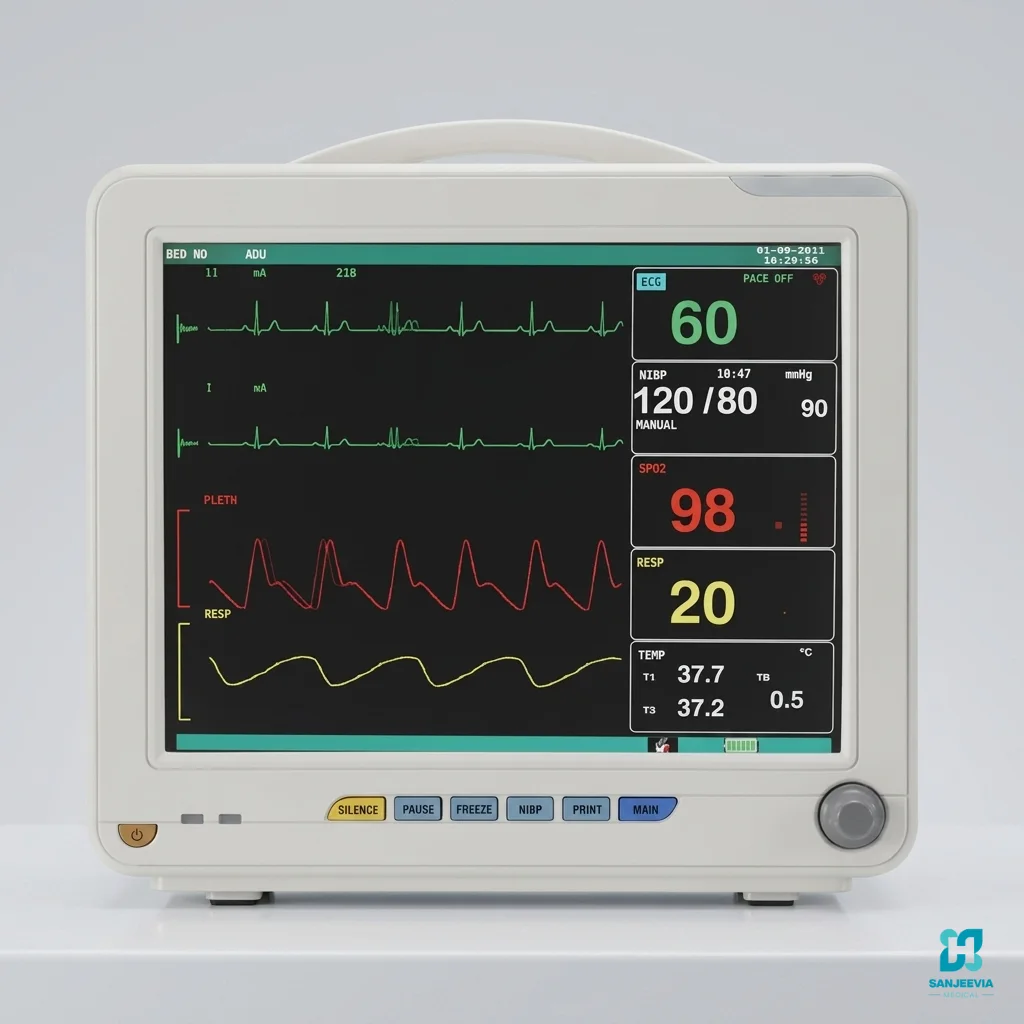
| Patient monitor | Power and battery, display, controls, alarm operation and the ordered sensors or cables |
A pre-delivery check shows that the unit operated during inspection. It does not replace the patient’s clinical monitoring, the manufacturer’s maintenance schedule or a backup plan for equipment that cannot safely be interrupted.
Stage 5: Sanitise reusable equipment and separate patient-contact items
Rental equipment may include reusable frames, housings, controls and accessories. It may also involve items that touch the patient’s skin or airway. Those groups require different handling.
Reusable surfaces should be cleaned and disinfected using products and methods compatible with the manufacturer. Motors, electrical sockets, filters and openings should not be flooded. Patient-contact items such as masks, cannulas, certain tubing, filters, underpads and personal hygiene products may need fresh purchase or patient-specific supply.
The receiving family should ask:
- Which parts were sanitised?
- Which parts are new or patient-specific?
- Which disposable items are excluded from the rental?
- What cleaning may the caregiver perform during use?
- Which cleaning chemicals or methods could damage the equipment?
A sanitisation sticker or photograph is useful evidence of completion. It should accompany a defined process rather than serve as the entire explanation.
Stage 6: Count accessories and prepare the handover
Missing accessories can make a functioning device unusable. Before dispatch, the order list should be compared with the physical items.
For a hospital bed, this may include the mattress, rails, IV pole or over-bed table when ordered. For respiratory equipment, it may include the power supply, tubing, humidifier part, filters or prescribed interface. For a monitor, it may include the ordered cables and sensors. The quotation should distinguish included rental items from separately purchased consumables.
Stage 7: Confirm the home and delivery route
A pre-delivery call reduces avoidable failure at the doorstep. Confirm the address, landmark, contact person, building floor, lift availability, stair access and room readiness. Large hospital-bed components may require a doorway and turning-space check. Powered devices need a suitable socket and a cable route that does not create a trip hazard.
Remove loose rugs and unnecessary furniture before equipment arrives. Keep children and pets away from the installation area. If oxygen equipment is involved, prepare a ventilated location away from flames, smoking and heat sources according to the supplier’s and clinician’s instructions.
Stage 8: Install, test and demonstrate at the home
Delivery is complete only when the family can verify what arrived and understands the normal controls.
- Compare the delivered model with the order.
- Inspect visible condition before installation.
- Count the included accessories.
- Place or assemble the equipment in the agreed location.
- Test normal functions.
- Demonstrate controls, brakes, alarms or shutdown steps as relevant.
- Explain cleaning boundaries and routine visual checks.
- Record the support number and fault-reporting process.
- Let the regular caregiver repeat the essential steps.
- Confirm satisfactory handover and retain the order records.
For clinical respiratory equipment, demonstration explains operation and the prescribed setup. It does not authorise the family or delivery team to alter treatment settings.
Stage 9: Prepare for support after delivery
The rental relationship continues after installation. Keep the order number, model, delivery date, photographs and support number together. If a fault appears, note what happened, which indicator or alarm appeared, whether power was available and what safe troubleshooting the handover instructions permit.
Do not open electrical equipment, bypass alarms, force moving bed parts or make unprescribed setting changes. Use the patient’s backup plan where required and contact the provider. Sanjeevia’s current process is explained in the breakdown and replacement policy.
The receiving caregiver’s final checklist
- The delivered model matches the order.
- Prices, deposit and transport match the written quotation.
- Visible condition and accessories have been checked.
- Installation and function testing are complete.
- The caregiver can operate normal controls safely.
- Patient-contact items are identified.
- The cleaning instructions are understood.
- The power-failure or backup plan is available where prescribed.
- The fault-reporting number and return process are saved.
To compare current equipment and prices, visit the Sanjeevia equipment catalogue, use the equipment matcher, or contact the team with the prescription, delivery PIN code and required date.
Medical boundary: This guide describes equipment preparation and handover. It does not diagnose a condition, prescribe a device or setting, or replace advice from the treating doctor, respiratory therapist, physiotherapist, occupational therapist or nurse.